Monday, February 17, 2014

Foundation Inspection

As you saw in the last post, the foundation is done. So a couple days later we went out again with our building inspector to make sure everything came out OK. While on the site this time we were able to get to and take pictures of the other side of the foundation.

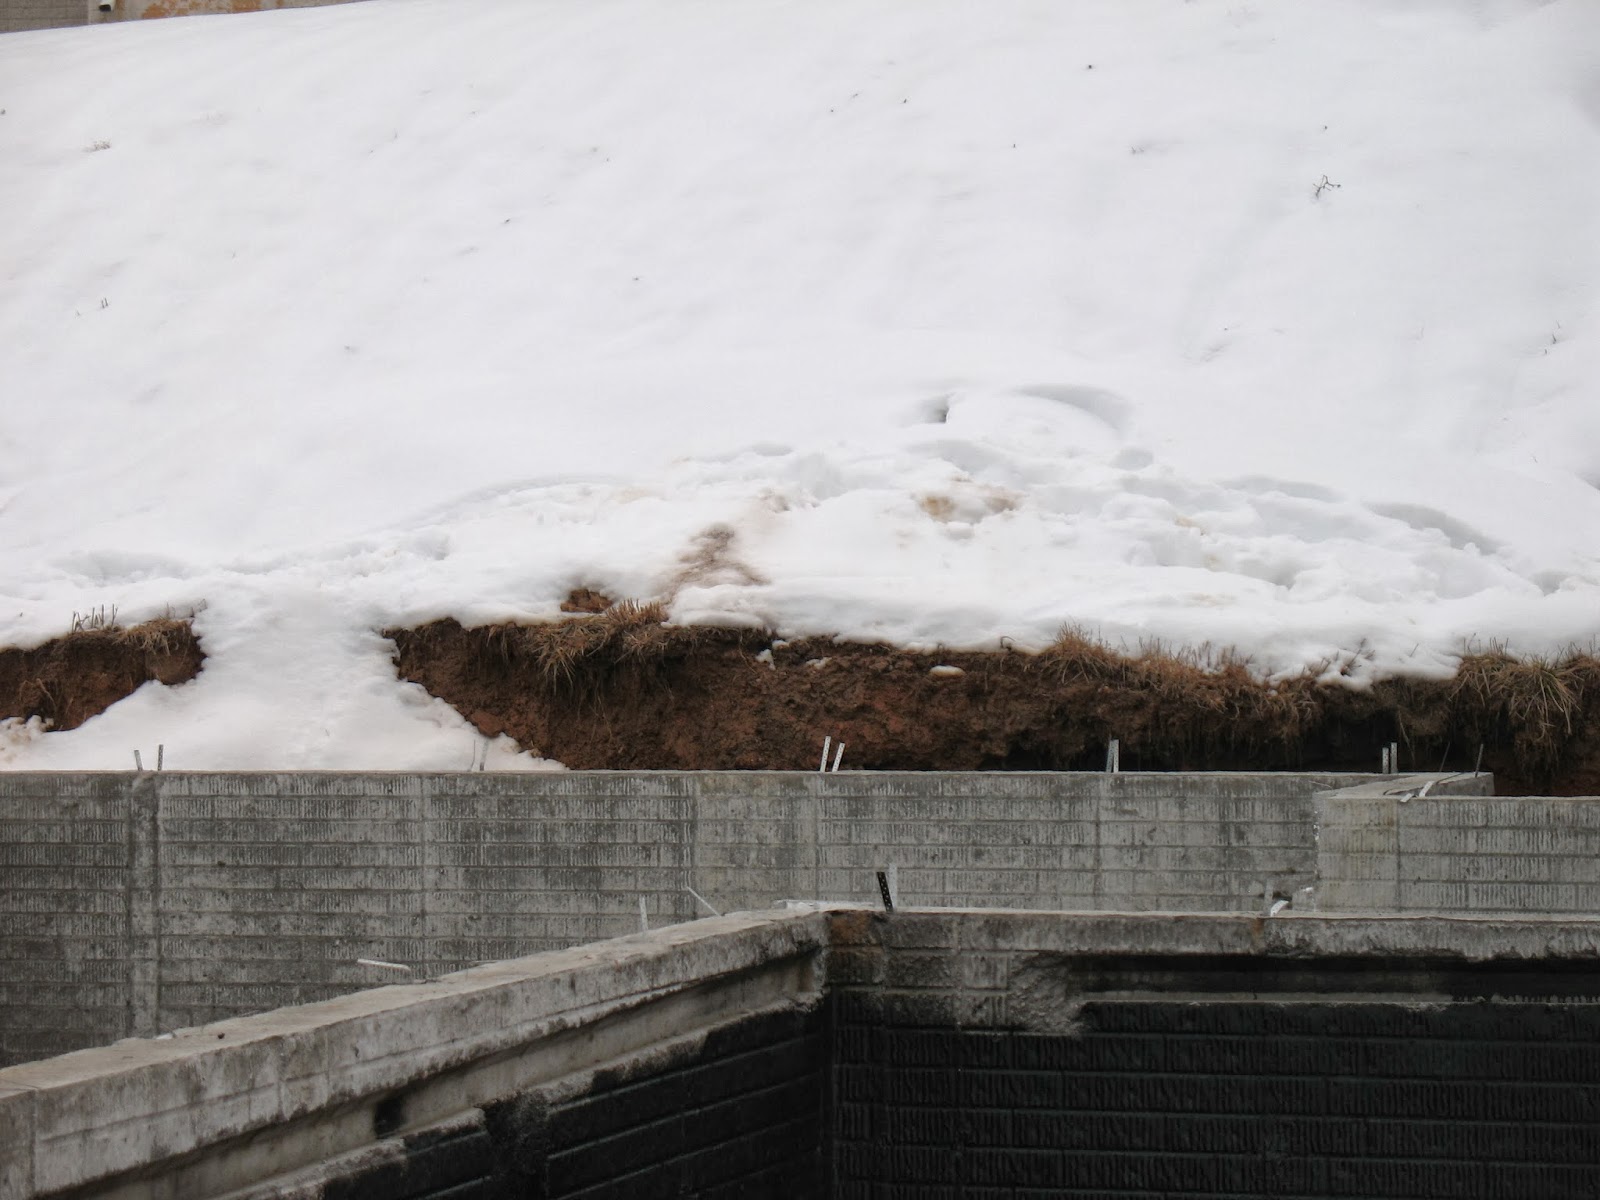
This is the back left side of the house facing forward. The waterproofing shows about where grade should be.

Same place as above, but just backed up a few steps. You can see the top of the area way where the steps from the basement will be.

A view showing the back of the house.

A view showing the back interior of the basement. You can see that the basic plumbing is not installed and the slab has yet to be poured.


A view of the front left side corner of the house. You can see the brick ledge for the water table.


A view of the front left side of the house. The two "wings" that you see are there to support the future porch.

A view of the left side of the foundation around the garage. You can see that the foundation here is not as deep because the garage did not need to be dug out like the basement. The garage area will be back filled.

Sunday, February 16, 2014

The Foundation is Done

A view of the front of the house with the garage foundation on the right. The black coating on the walls is waterproofing.

Right side (garage side) of the foundation. The seemingly black filled rectangle is the garage foundation. Presumably this area will be filled and then a slab will be poured.

A closeup view of the area way exit from the basement.

A view of straps to connect the foundation to the first floor structure to come.

A view from the front right corner of the foundation looking back across the whole foundation. You can see two beam pockets. One is right below the right side of the big window of the house next to us. The other is in the upper left hand corner of the area way.

Another view looking towards the left side of the foundation.

In this picture you can see all three basement windows (outlined in the light blue tape) and the area way. Two windows are in the forefront and one window and the area way are in the background.

"Wings" were added to the foundation to give it extra strength since there is a hill in the back of the house. You can see one in the foreground. Here it extends from the back of the foundation. It's hard to see because it's covered in the black waterproofing.


A view from the back right corner of the foundation looking back across the whole foundation. You can also see that they only covered, with waterproofing, the walls of the garage that also form the basement.

Saturday, February 15, 2014

The Foundation Walls...in Progress

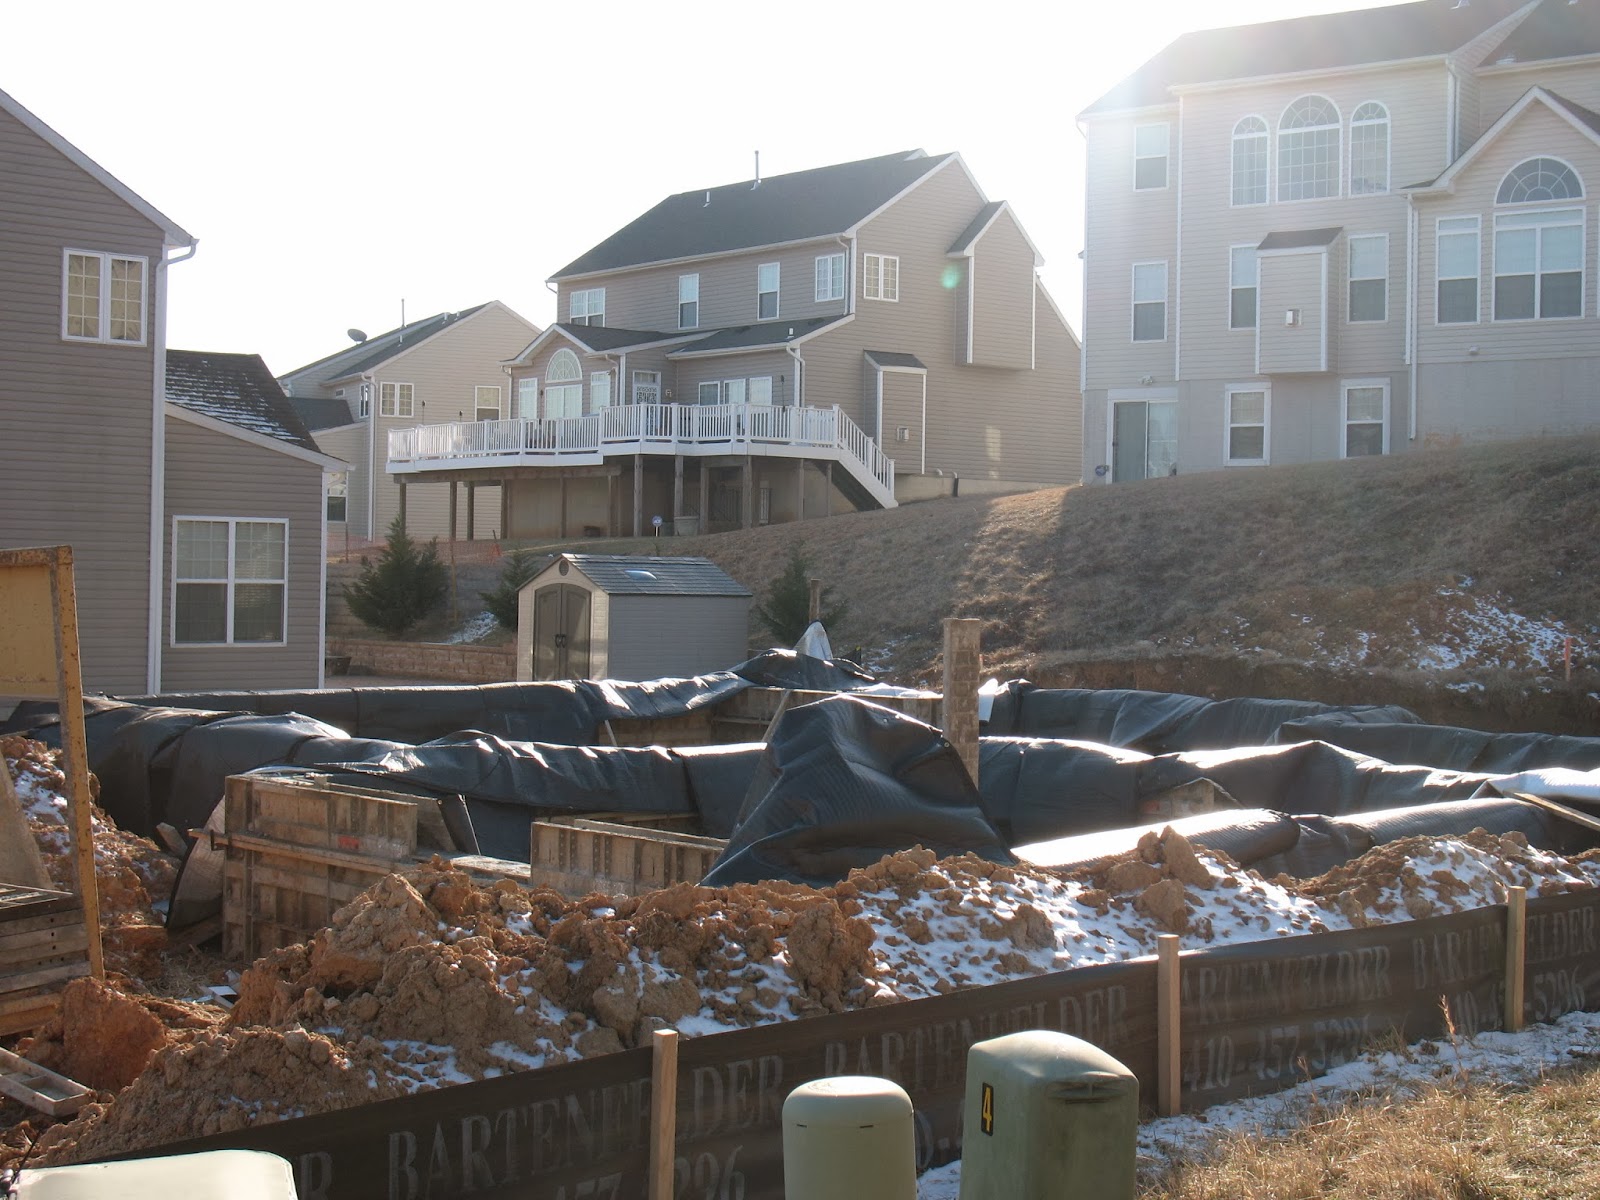
The forms are all filled with cement and have been left to cure.

The tops of the walls are covered with what looks like insulating blankets. We really have the beginnings of a house now.


Casting the Foundation Walls


The forms/molds for the foundation walls are set and the process of filling them with cement is underway.


A closer view of the form construction process.

The pump truck that will deliver cement into the forms.


This shows the pump truck pumping cement into the forms.

The next cement truck is waiting to dump its load into the pumper truck. Once they start pumping the cement into the forms they can't stop. There was always a next truck waiting when one was emptied.

Another view of the well coordinated process of cement truck loading cement into the pumper truck. The pumper truck pumps cement through that arm into the forms. You can't see it, but there is a worker holding the end of that arm to make sure that the cement is placed correctly into the forms.

This is a view from above the operations. We are looking from the hilltop, between the rear neighbors' homes. Again you'll see the pumper truck arm feeding the cement into the forms.


The Beginnings of a Strong Foundation


New signs just came in, so we now have a label and "SOLD" sticker for our lot.

A bit of equipment for construction of the footers for the foundation. It looks like some re-bar and foam pieces.


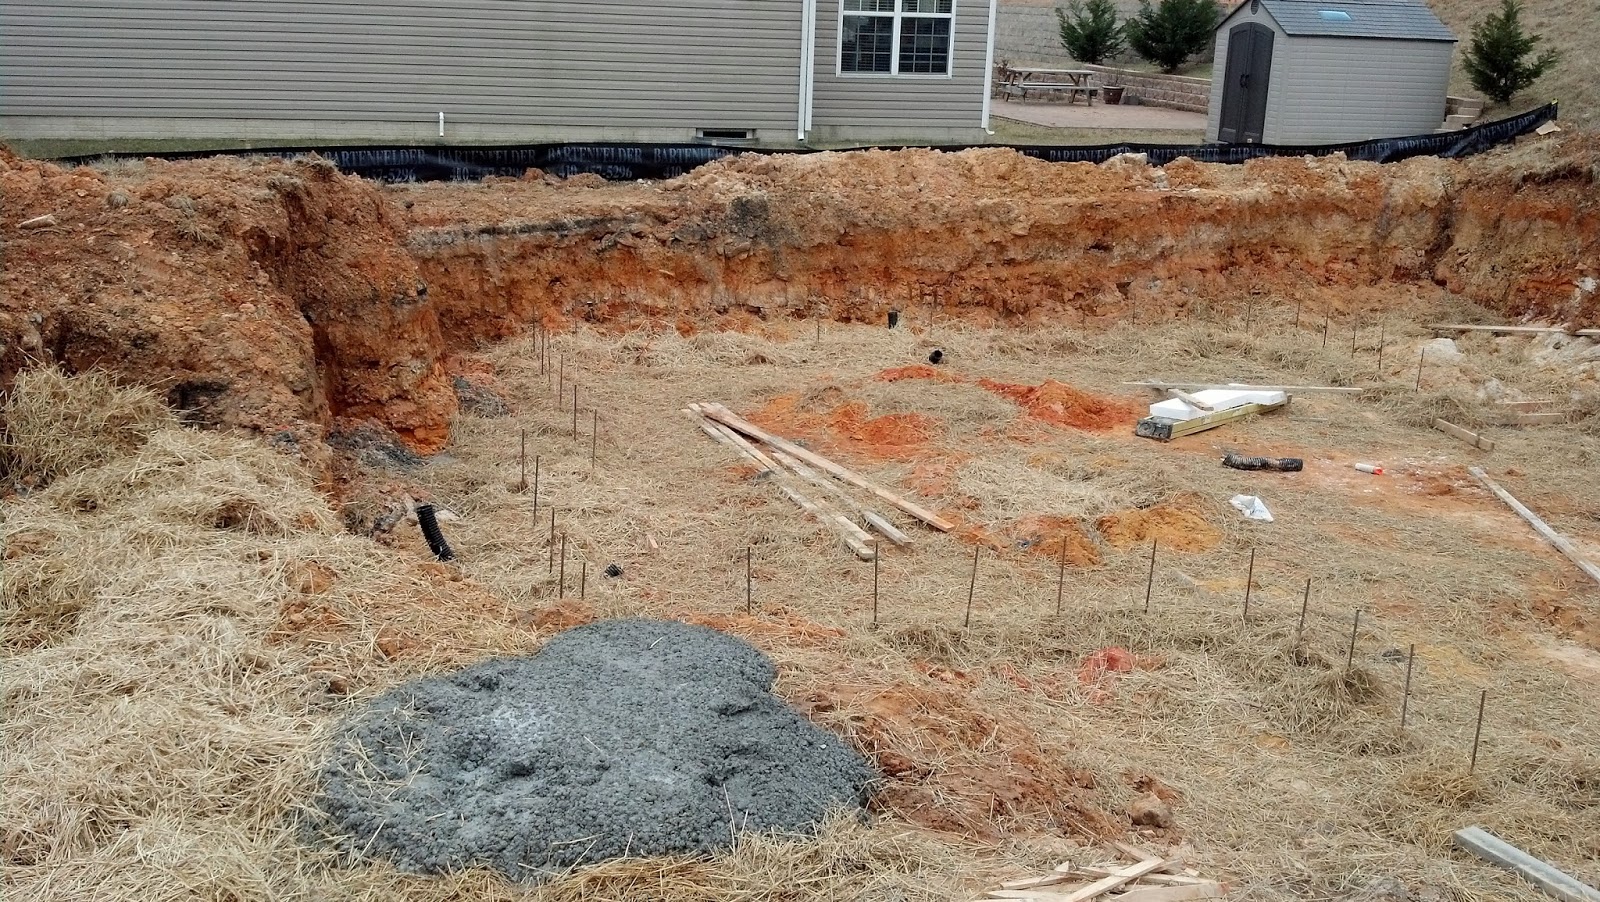
This picture shows the re-bar reinforced footers. The actual footers for the foundation are covered in the hay that now resides in the foundation hole. The ends of the re-bar can be seen extending out of the hay. You'll notice that these re-bar ends layout the footprint of the house. Those re-bar ends will actually be cast into the foundation walls that are to come. Click to blowup the picture and things are easier to see.

The hay is present for protection, most likely from the temperatures due to fall into the teens on the night after they were cast. This picture is taken from the right side of the house looking across the house. So the re-bar shows the back of the garage and the front, left side and some of the back of the house.  Again, click to blowup the picture.

In this picture you can see the outline of the back of the house. Notice the bump-out for the family room.


This is a closer view so that the re-bar extending through the surface of the hay is more visible.


If you want to learn more about how a foundation is installed check out this great post we found...
http://diydiva.net/2010/05/diy-house-addition-step-3-foundation/


Houston...We have a Hole

This is the lot now with a hole to accommodate the foundation. 


A closer view shows a most of the hole and some of  the interesting strata in the earth on our lot.

It is not clear what this seemingly stray hunk of earth inside the hole is for, but there is a good view of the right side of the lot.


The dirt from our lot is now being mostly held on two other empty lots on the court and it is a pretty large mound that has accumulated.

The Groundbreaking

Sunrise at the lot while we wait for the excavator to arrive and truly begin the construction process of our house

Looks like we will get pretty nice morning sun on the front of the house

The sun is all the way up now and the excavator is here after taking the scenic route through our new neighborhood

Here comes the earthmoving equipment off the back of the trailer


The start of the very first "shovel" of dirt and the official groundbreaking on our house


The first "shovel" of dirt


The first dirt pile

....and now the second "shovel" of dirt


By later in the day, a dump truck was in place to help move dirt as progress on the hole for the house continued. 

...and it looks like the dirt pile has grown